In this tab, you can decide what information to include in the catalog. By default, the Categories, Products, Variants, and Points of Sale tables will appear, but you can also add a table from the Custom Entity or delete any of them if you do not need to export them. To do that, just set the Activate parameter to No or click on the Delete table from the channel button to remove it completely.
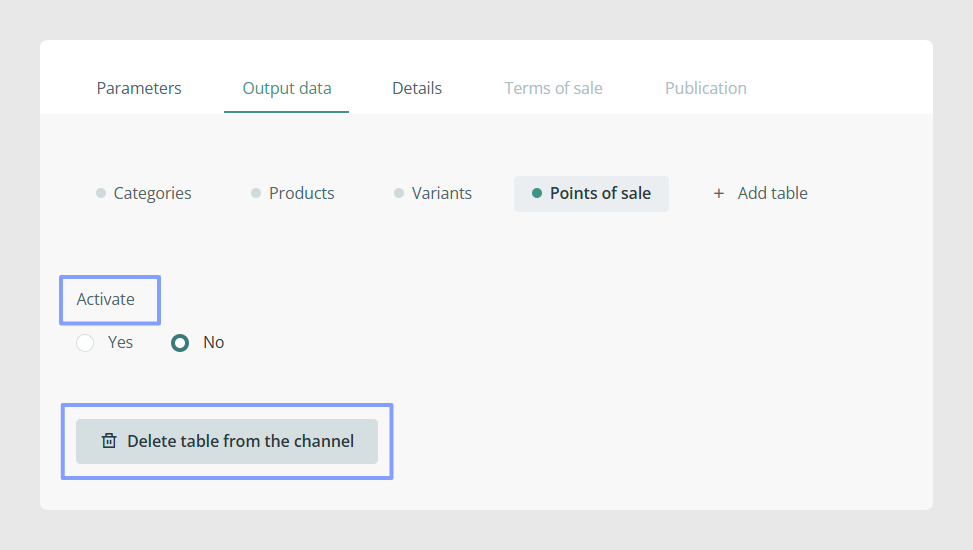
Once you know the tables you want to export, the next step will be to decide what fields you want to show in your catalog and which items you want to publish.
Using filters
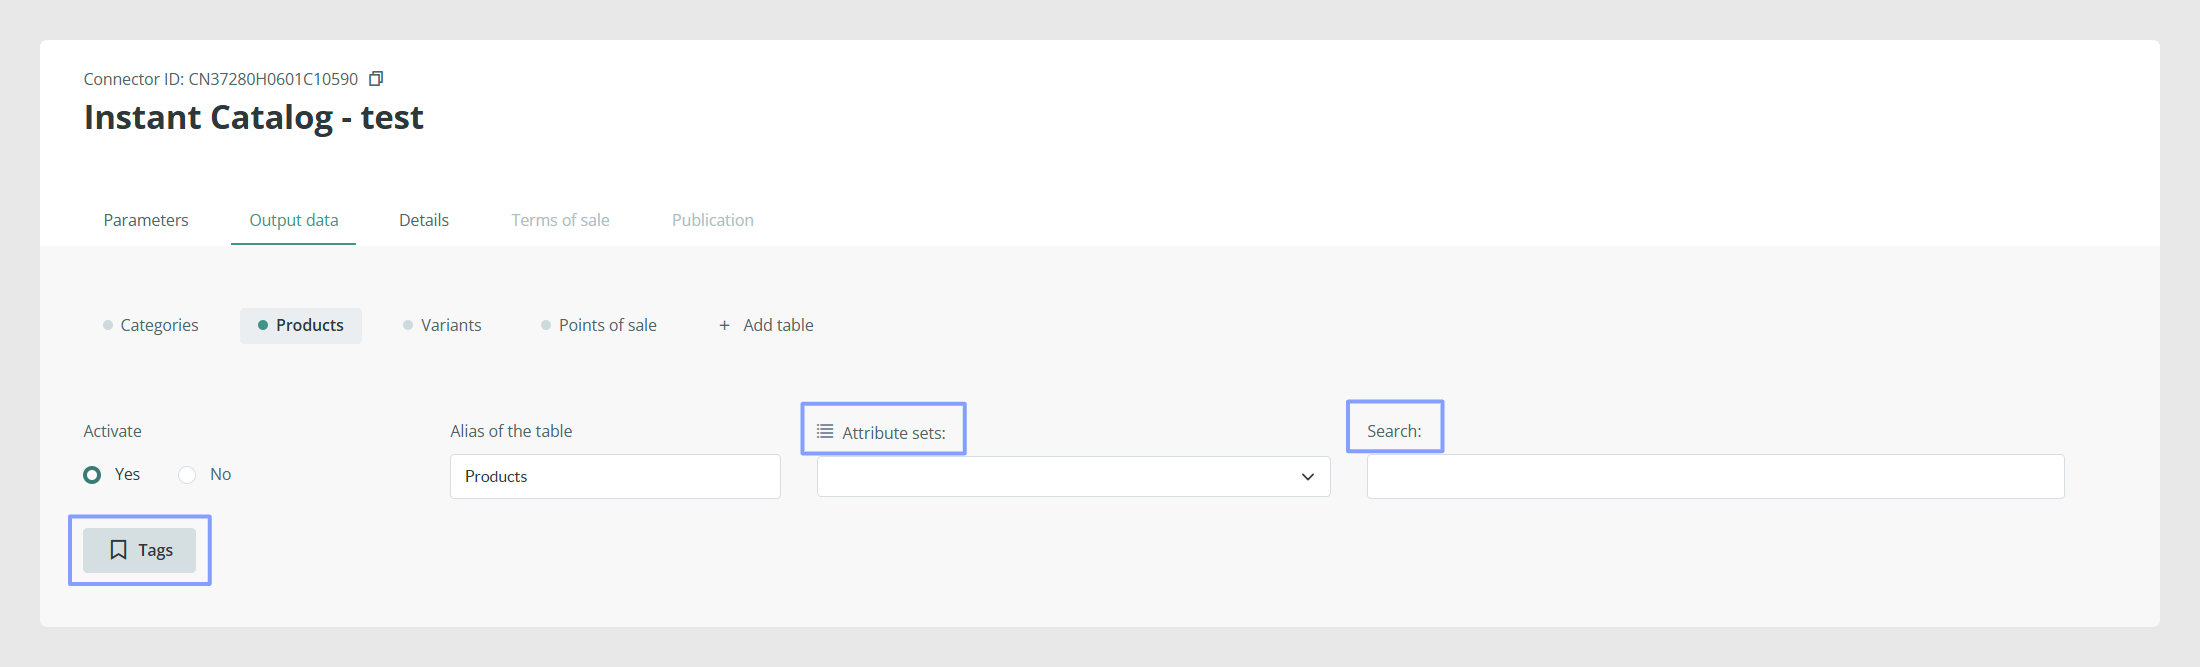
You can use any of the filters available to select the items you want to export from each table. For example, in the products section, you can choose a specific attribute set, insert a search, or select a tag.
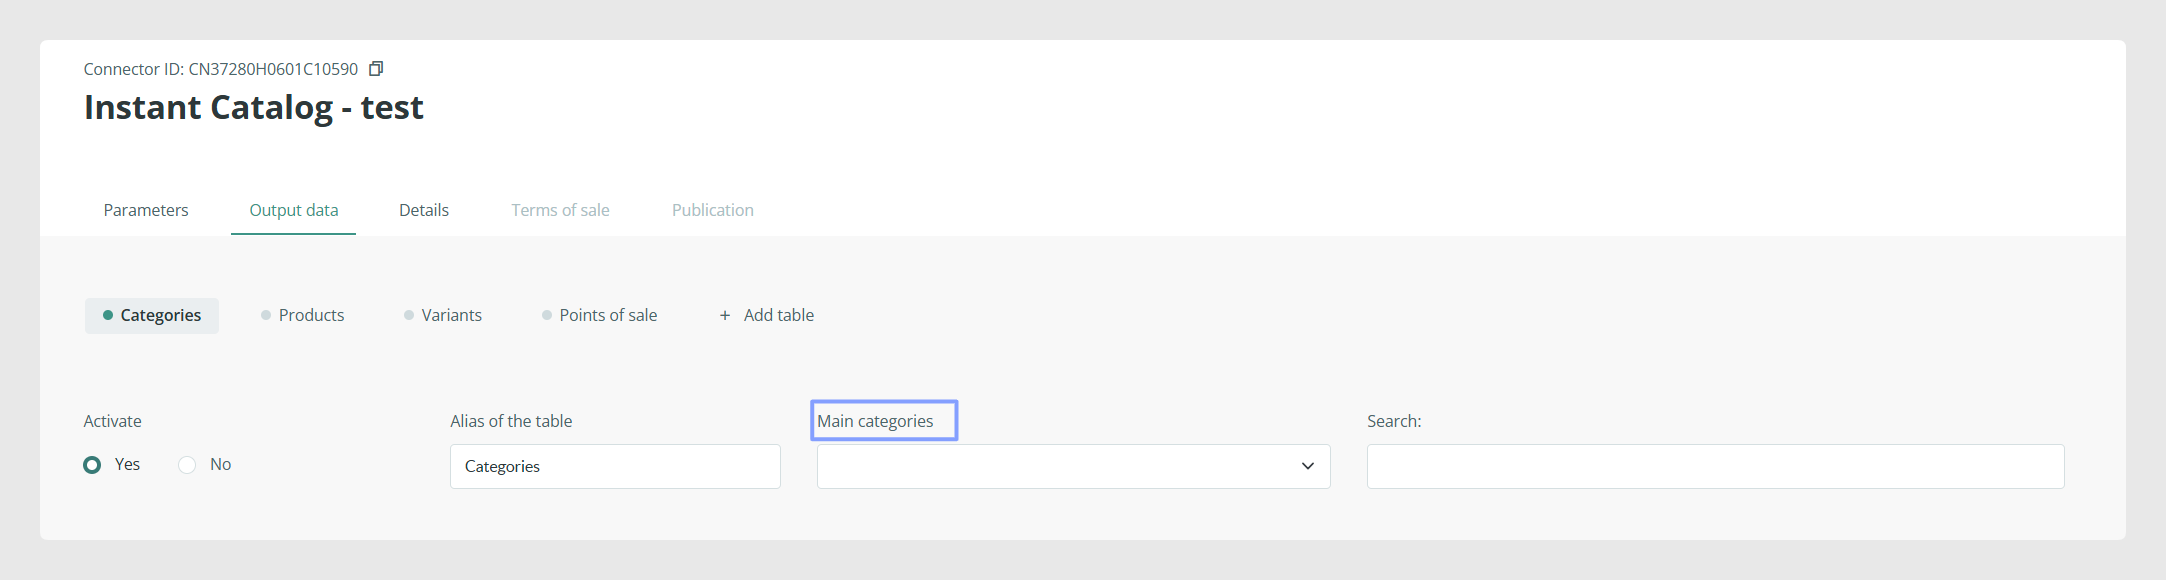
In the categories section, you can filter by a specific category root.
Note that if no filter is selected, the complete catalog will be sent, considering the status of the items that you have decided to export in the previous step. If you have indicated that only the visible items will be exported, even if the filter includes items in draft mode, they will not be published.
Selecting fields for the catalog
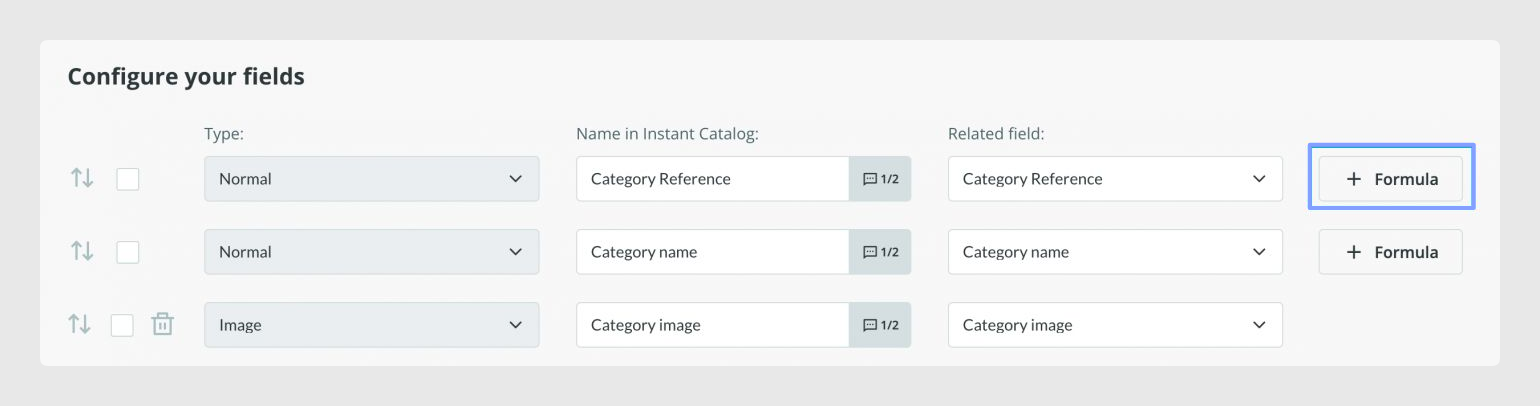
Now, you need to select which fields you want to send and relate them to the corresponding fields in your forms. If you want to show a different name in the catalog you can change it in the Instant Catalog Name option. It is an editable field so you can write whatever you wish to write. Next to that, the Related field, corresponds to the field in your form that has the information you want to export.
Using formulas
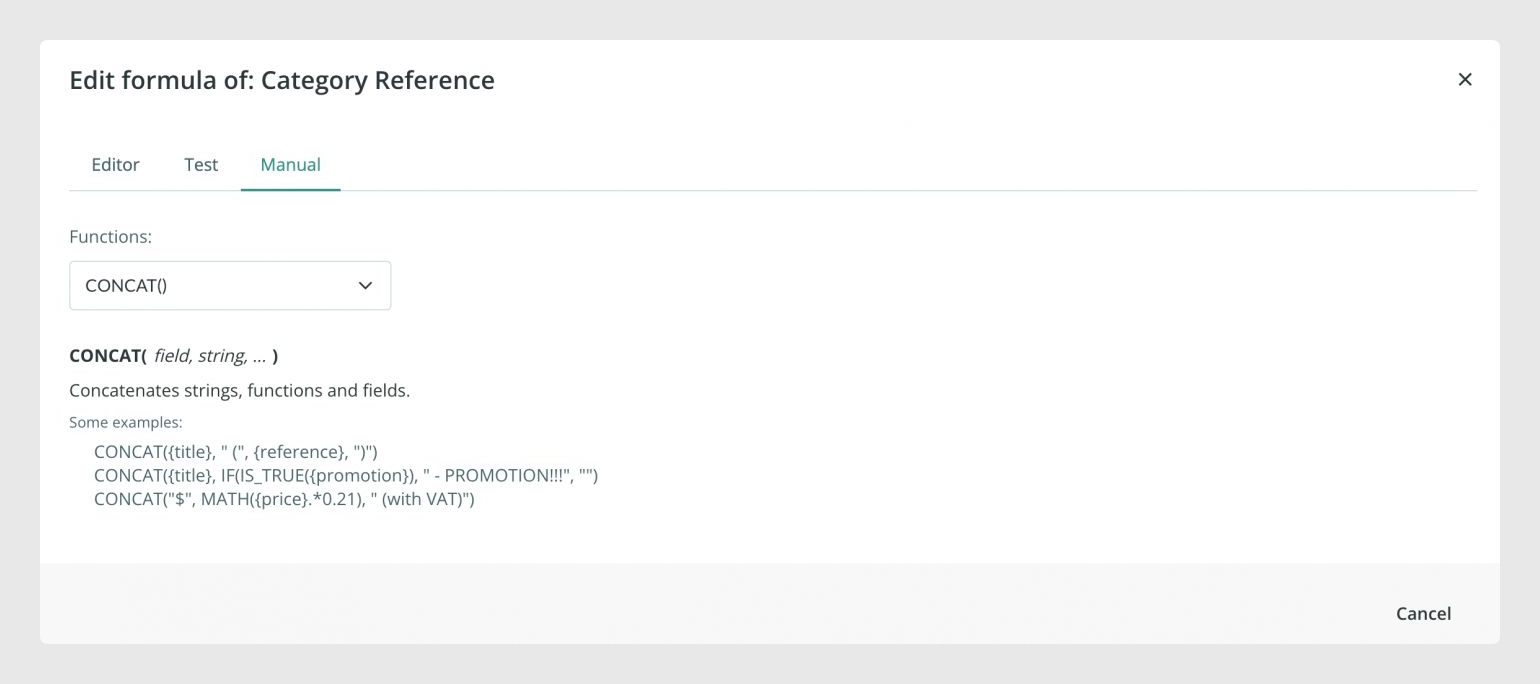
You can also use formulas to modify the content exported without editing the original information.
When you click on the Formula button to add one, you’ll find a manual tab with some examples and a test tab to try it out. If you need further information, check the formulas section in our Support Center.
Consideration of the image field
It is important to make sure that the default Sales Layer cuts (thumbnail, detail and normal) are selected so that the catalog can display the image correctly in the different formats. You can select another size if you wish, but always in combination with these three.

Web browsers limit the display of .tiff format images. If this format is sent through the IC, the images will not be visible. Therefore, it is recommended to either change the image format or use a cropped version in a different format.
Was this article helpful?
That’s Great!
Thank you for your feedback
Sorry! We couldn't be helpful
Thank you for your feedback
Feedback sent
We appreciate your effort and will try to fix the article