In the Parameters tab, in addition to the general options that you know from other connectors, you will see the option to configure the different parameters related to the languages.
Languages to connect
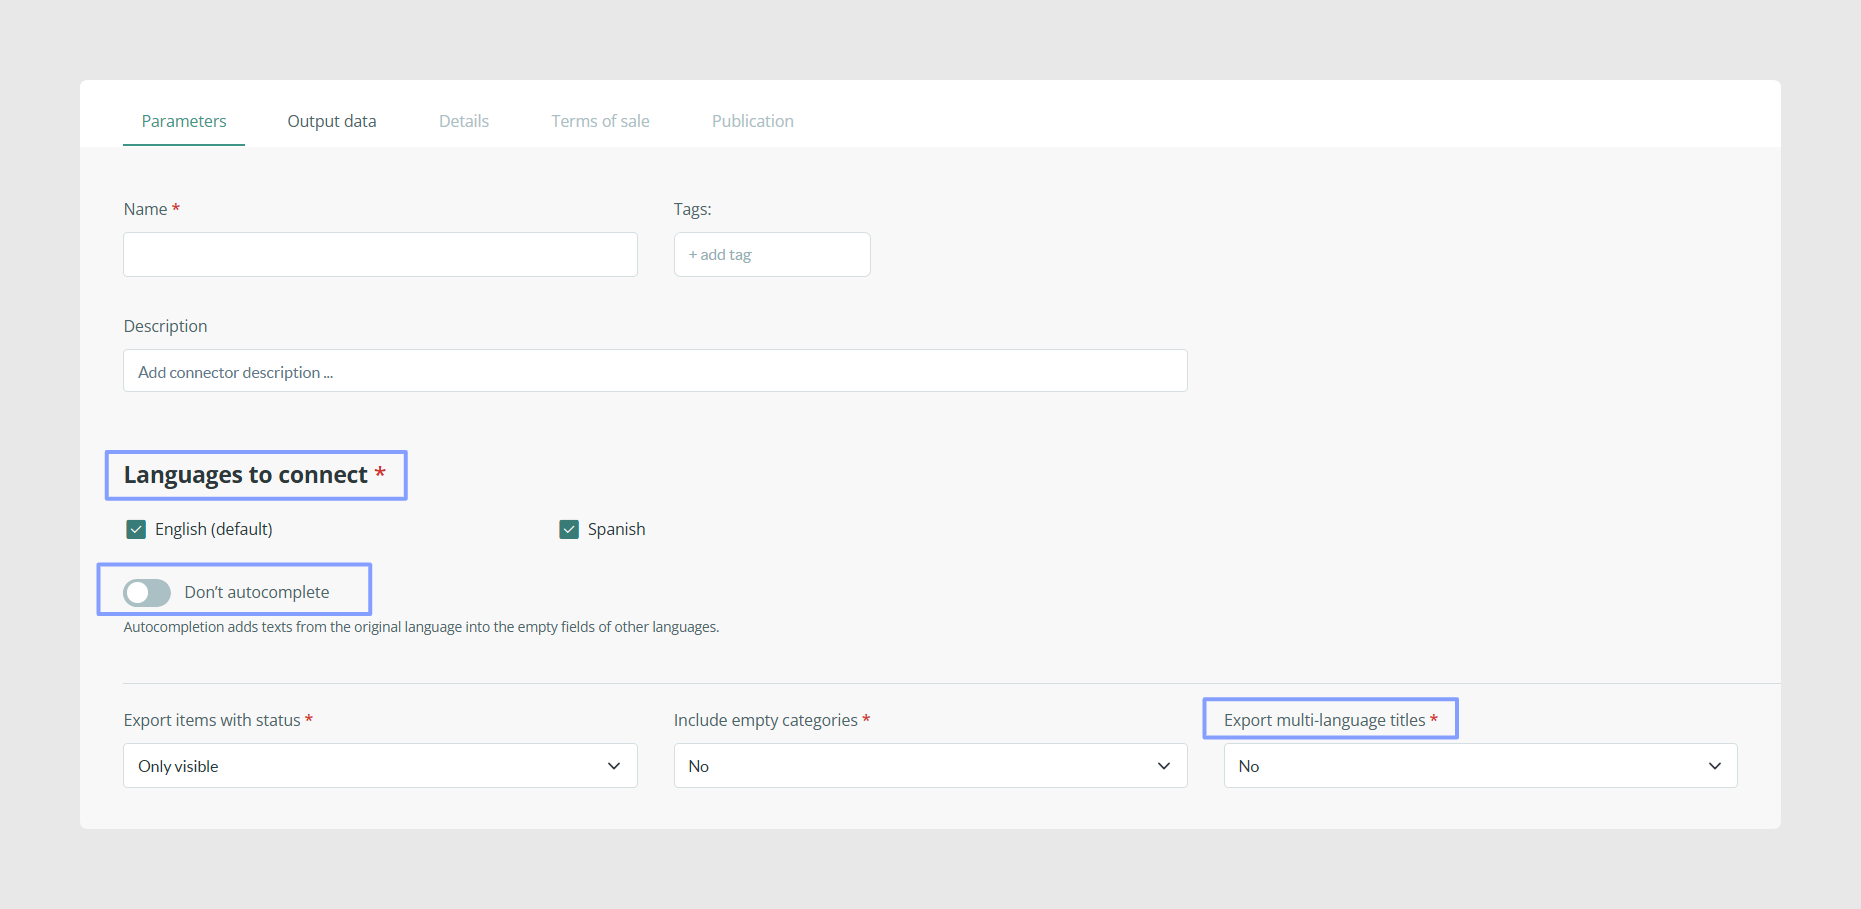
At this point, you can select the languages in which you want to export our catalog within the ones you have active on the platform. You can choose whether or not to autocomplete the information of the fields not translated with the default language thanks to the autocomplete parameter or choose to export multi-language titles if you wish.
Item status
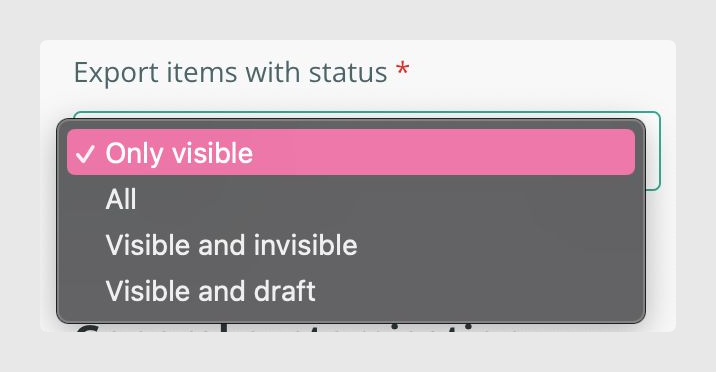
Regarding the status of the items, it is important to consider which statuses you have decided to send through the connector.
For example, if you decide to send all, or draft and visible, all items with these statuses will be exported, unless you use filters such as a tag.
If you select “visible only” certain rules must be taken into account:
- If a category is in draft status, even if the products and their variants are visible, no items associated with that category will be published.
- The same happens if the category of a product and its variants are visible, but the product is in draft mode. In this case, the product status prevails over the variants and won’t be published.
- In case, you have the products visible, but you only want to send specific variants, you could leave the variants you don't want to be published in draft or create a label in variants with the references you want to send and use it in the variants tab. This way, only the variants you have decided on for each product will be sent.
- If your products are in visible status but you only want to send specific variants, you could leave in draft the variants, that you do not want to be published, or tag the variants you want to send, and select that tag in the variants tab of the connector. This way, only the variants you have decided on for each product will be sent.
Include empty categories
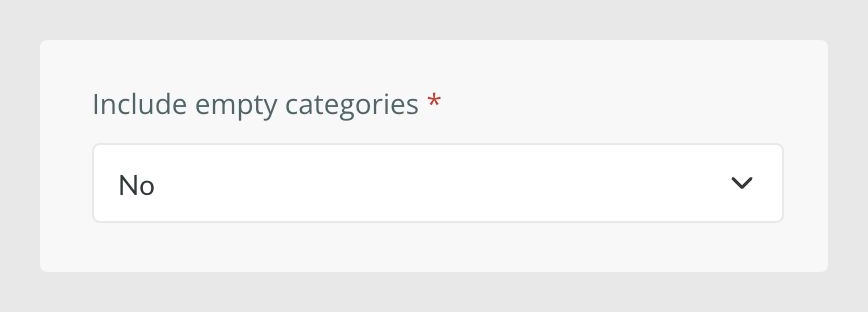
You can also decide whether you want to show empty categories or not to show them if they do not have any associated products. To do this, you must have the parameter include empty categories marked "No".
General customization
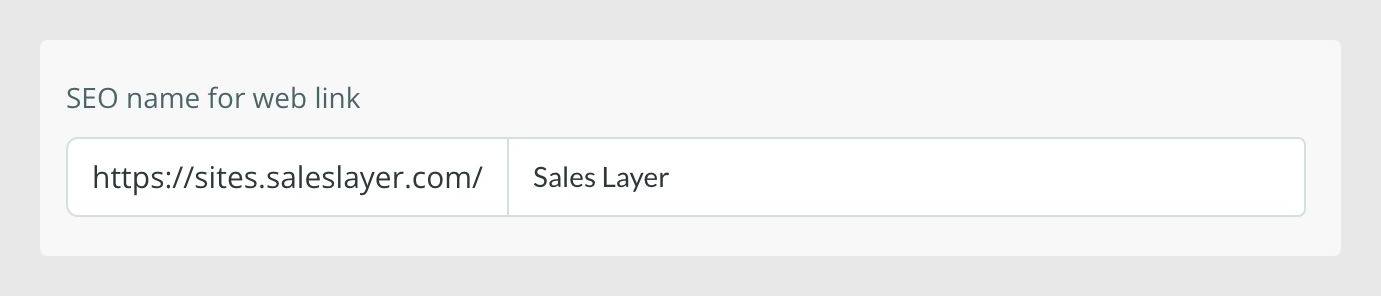
You can set the URLs that will generate the catalogs by typing a word, such as the name of your company, for example, to make it more intuitive for our microsite.
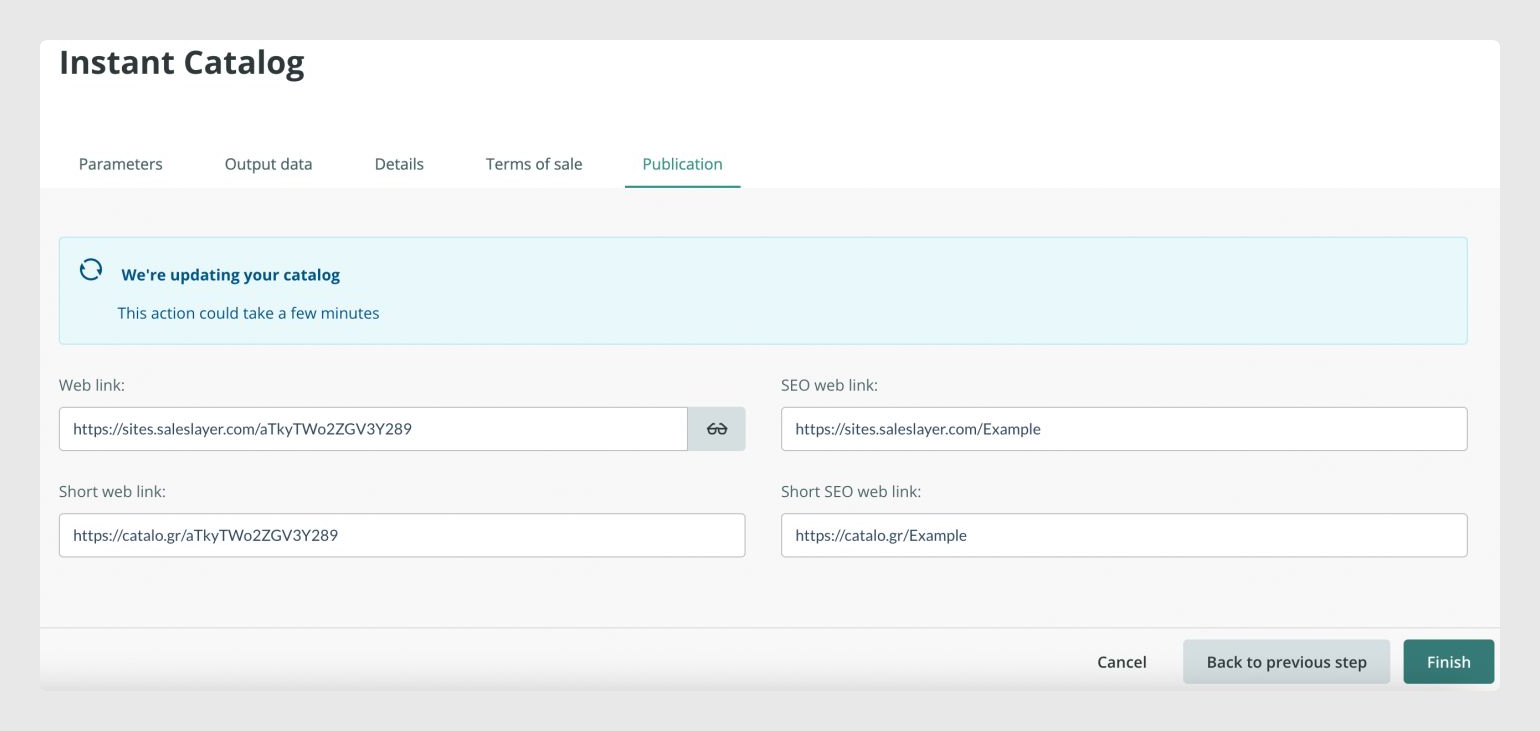
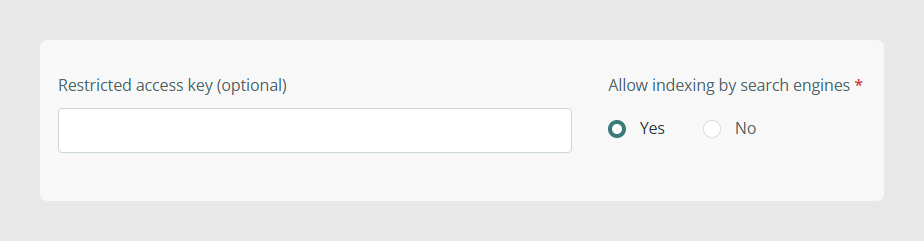
Next to that, you’ll find the option to add a password to restrict access to the catalog, and decide whether you want our catalog to be indexed by a search bar:
Just below, you have the parameter Management emails where you can insert the email(s) of the person(s) responsible for receiving the order requests once the users place an order (in case of activating that option).
In addition, you can see the parameter “Use management email as sender":
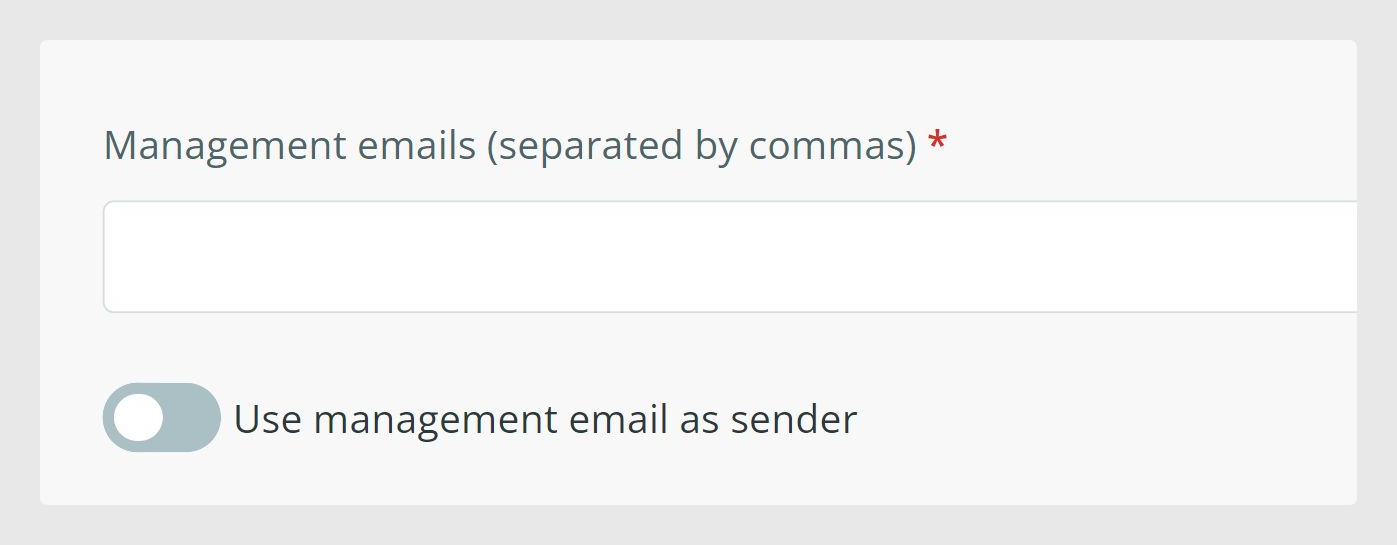
If you select it, apart from receiving the order requests, the first email added will be used as the sender of the emails sent to the users of purchase.
Let's look at an example of using these parameters using two users. A would be the seller and B would be the buyer. When configuring the connector, you place the mail A in the “Management emails” field. Doing so, A will receive the order forms made by user B. Whereas, if you select the parameter “Use management mail as sender”, all emails sent to user B would be with A as sender.
Note: If you do not select the parameter Use management mail as a sender, the emails will be sent from info@saleslayer.com.
To use User A as a sender, you must first verify the identity, and to do so, the email will receive an email from AWS as explained in the notice:
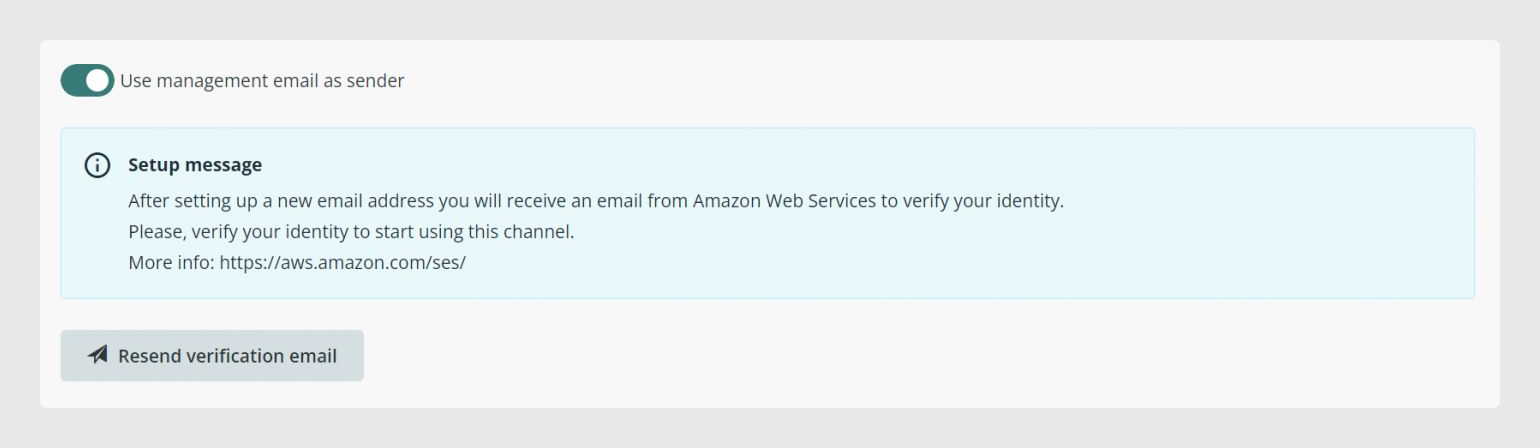
In case the mail is lost, you can send it again by clicking on Resend verification email.
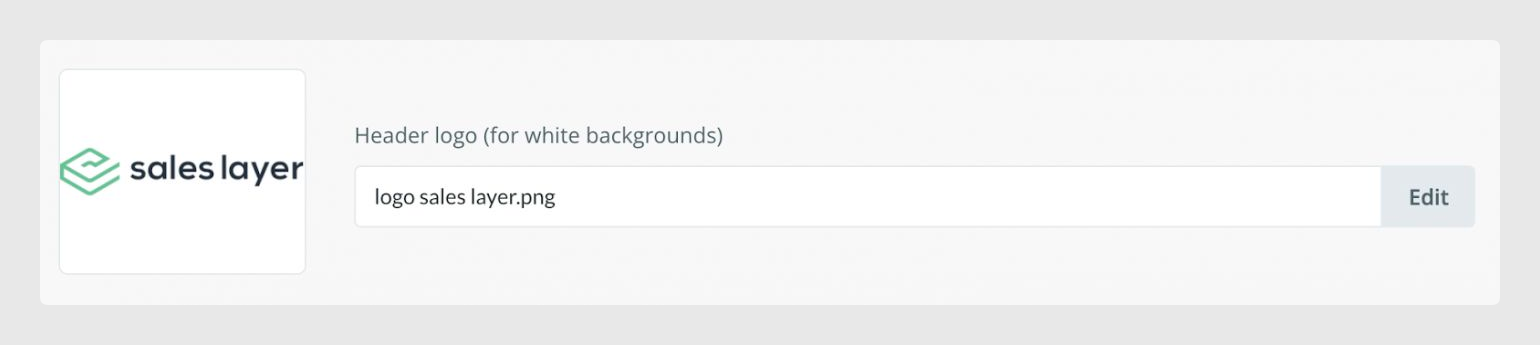
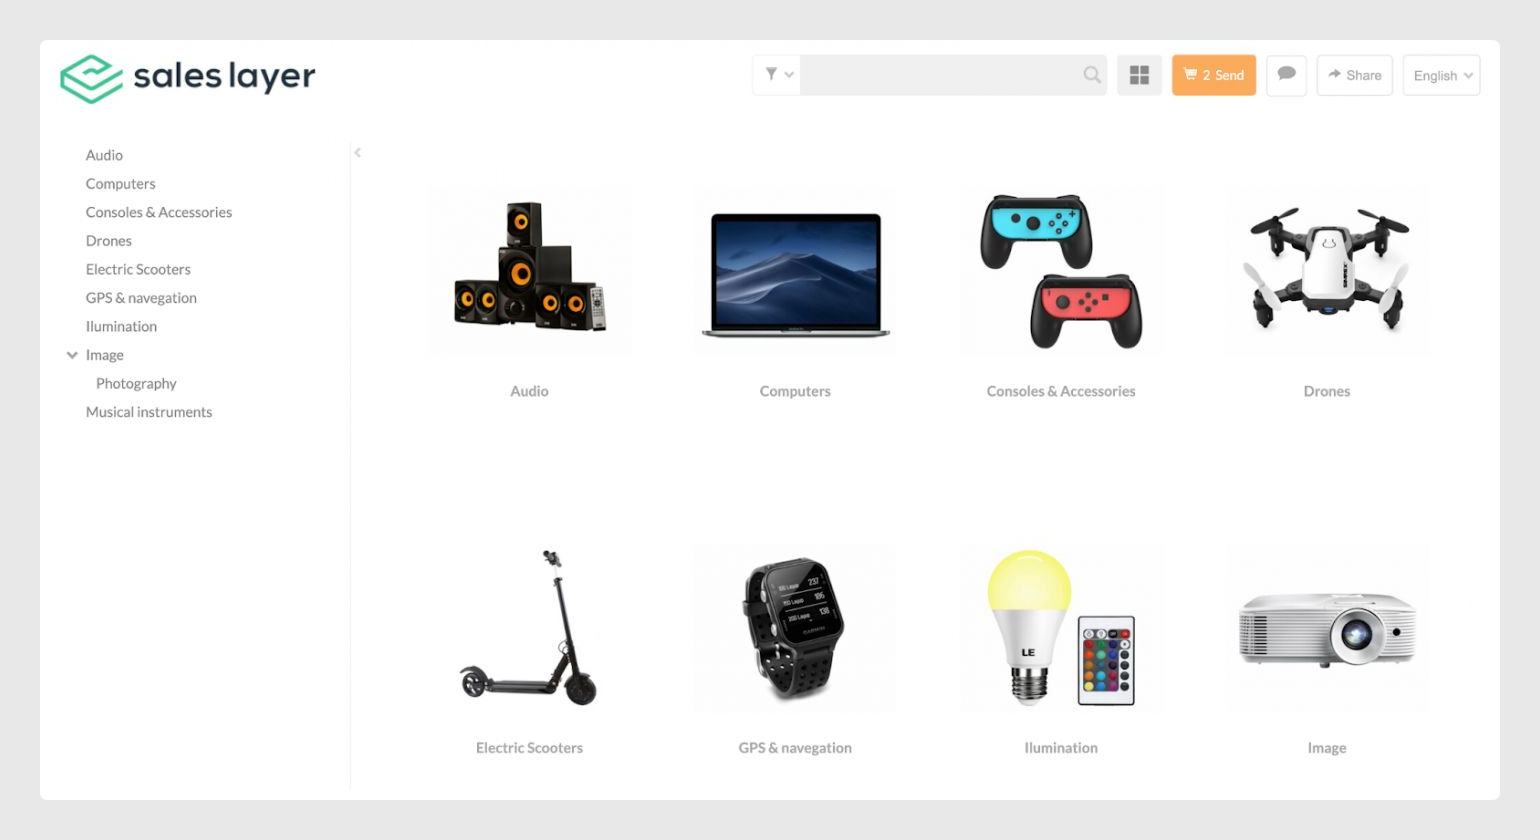
You can also select to add a logo to your catalog to make it more corporate. Just click on Edit and upload or select an image from the library:
Automatic PDF Generation
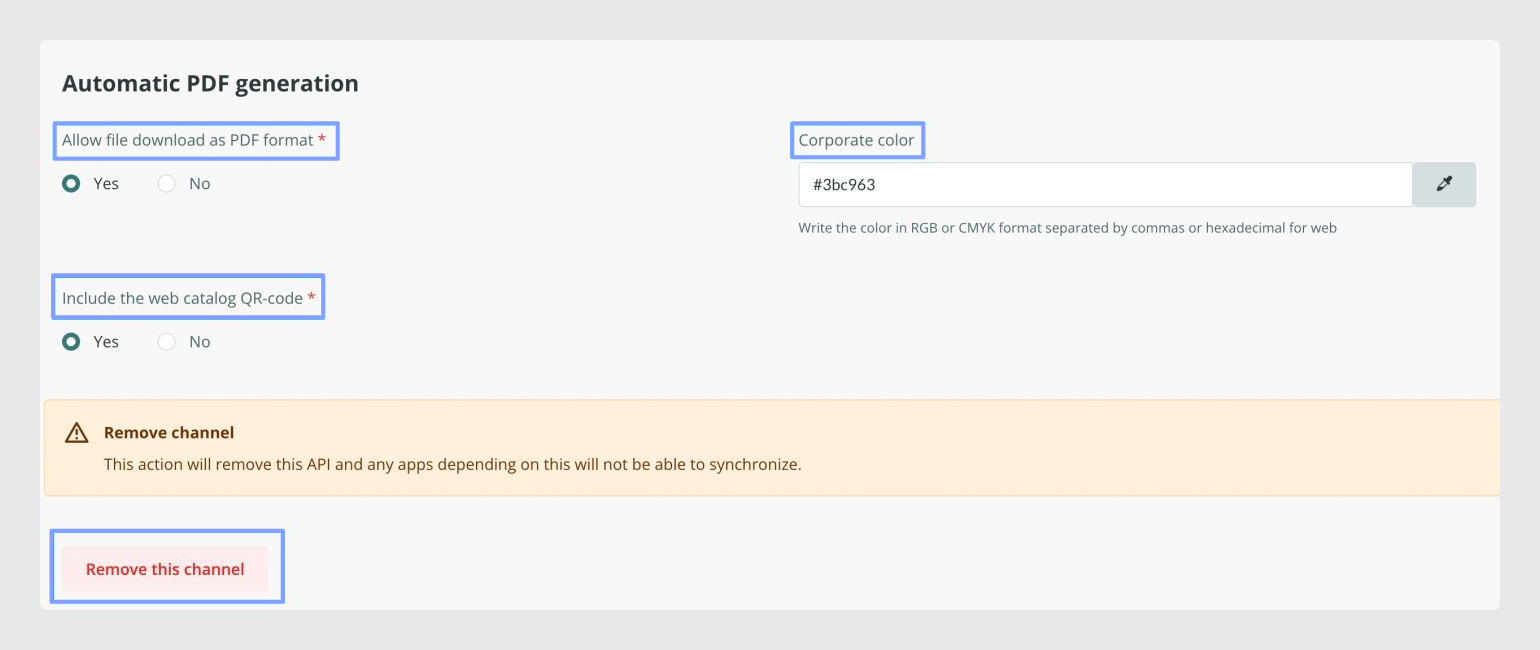
If you have the Extended Catalog, you can activate the following options to create a PDF product sheet, decide whether you want to include a QR code, and choose the corporate color to customize the product sheets.
At the bottom of the page, you will find the option to remove the channel if needed. This can be done, from the Actions menu where you will find the option Clone this channel as well.
Was this article helpful?
That’s Great!
Thank you for your feedback
Sorry! We couldn't be helpful
Thank you for your feedback
Feedback sent
We appreciate your effort and will try to fix the article