Use a staging environment
For the first synchronization, and also for any major configuration changes or testing, it is recommended to use a staging environment.
In Shopify, you can create a new password-protected store. If you are new to Shopify, your store will also remain non-public until a plan has been purchased.
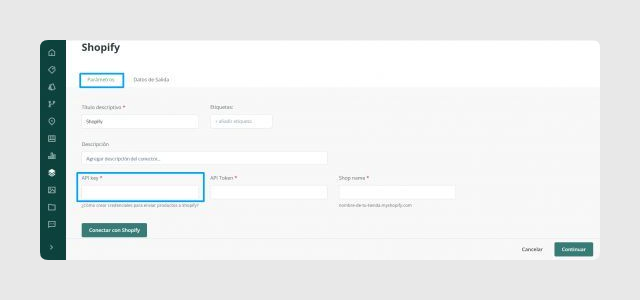
Prepare a staging connector
It is advisable to create a Shopify staging connector with a configuration that closely mirrors your production connector.
This staging connector should be used to test any configuration changes before applying them in the live environment, helping to reduce risk.
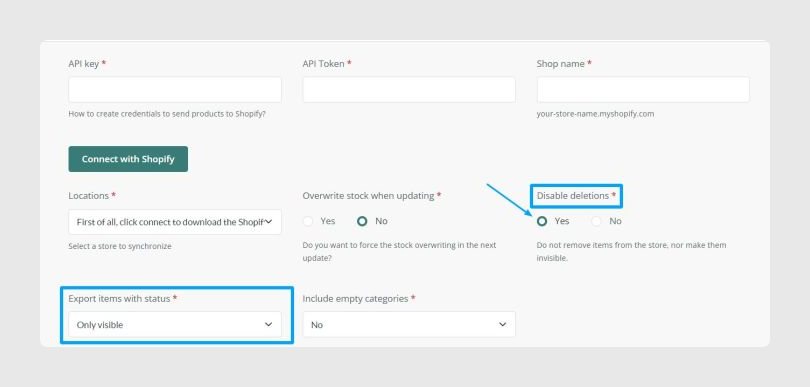
To get started, in the Parameters tab, set Export items with status to Only visible and set Disable deletions to Yes.
Test with a small group of items
It is also recommended to filter the connector by a small group of items so testing can run faster.
The items to be synchronized can be tagged in the PIM and then selected in the corresponding connector table.
This approach lets you validate errors before synchronizing the rest of the items. Once the synchronization has been completed successfully, those items will be available in the store. You can then verify the results, make adjustments, and expand the product group gradually.
Best practices
- Use a password-protected Shopify store or another non-public store as your test environment.
- Create a staging connector that matches your production connector as closely as possible.
- For first tests, export only visible items and keep deletions disabled.
- Filter the test using a small group of tagged items so you can validate errors faster.
- After a successful test, review the result, adjust the configuration if needed, and then expand the synchronization step by step.
Was this article helpful?
That’s Great!
Thank you for your feedback
Sorry! We couldn't be helpful
Thank you for your feedback
Feedback sent
We appreciate your effort and will try to fix the article