Create the Shopify app
To connect Sales Layer with your Shopify store, you first need to create an external app inside Shopify.
Follow these steps in Shopify:
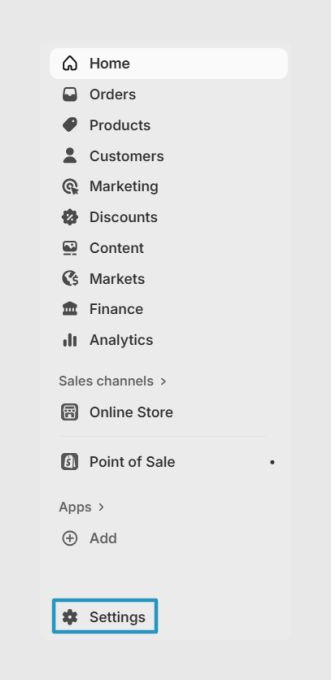
- Go to Settings.
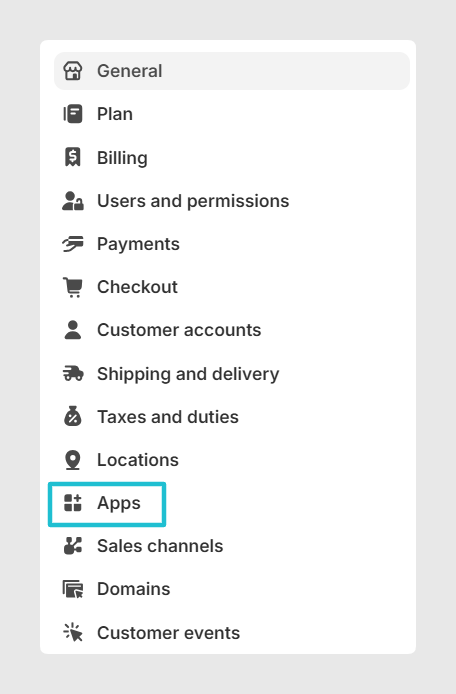
- Open Apps.
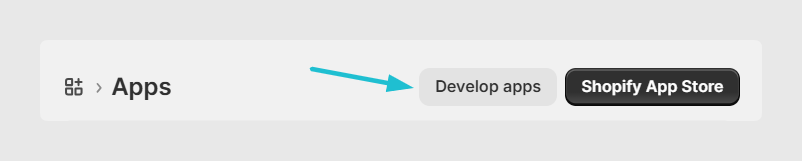
- Enter Develop apps.
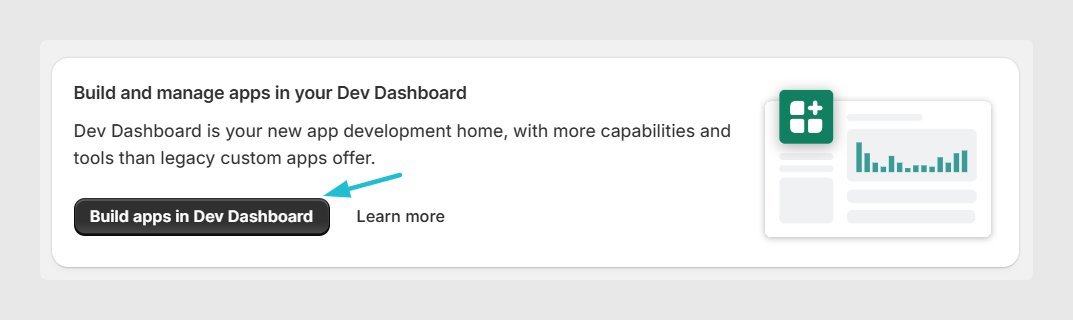
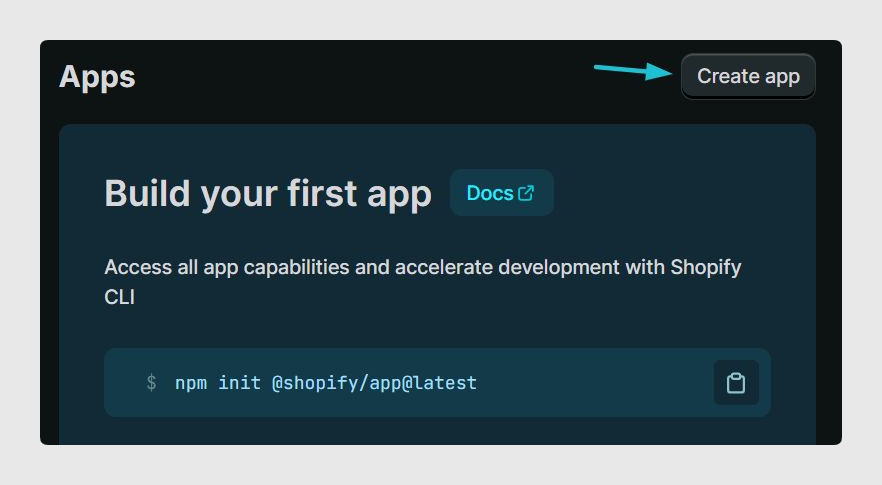
- Select Build Apps in Dev Dashboard.
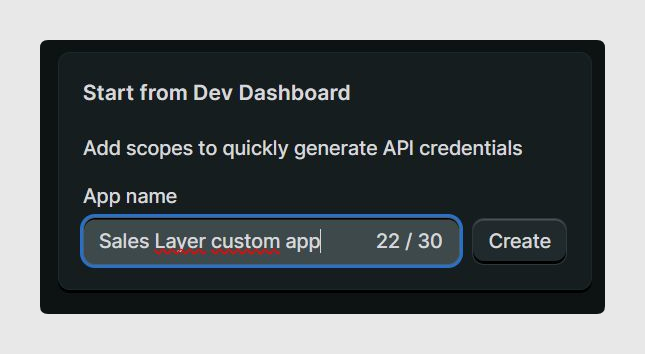
- Click Create App and assign a name to the app.
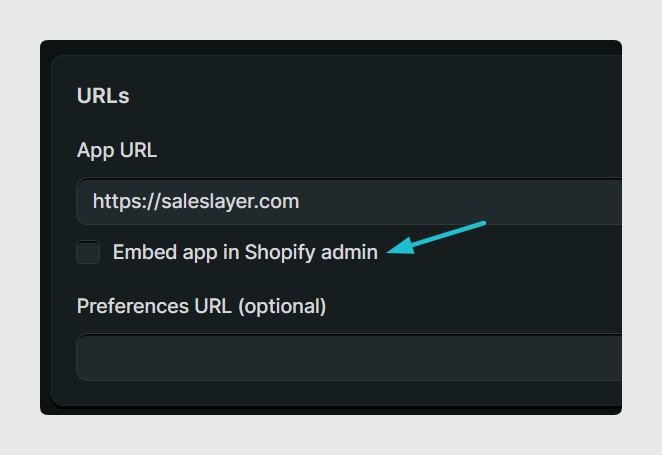
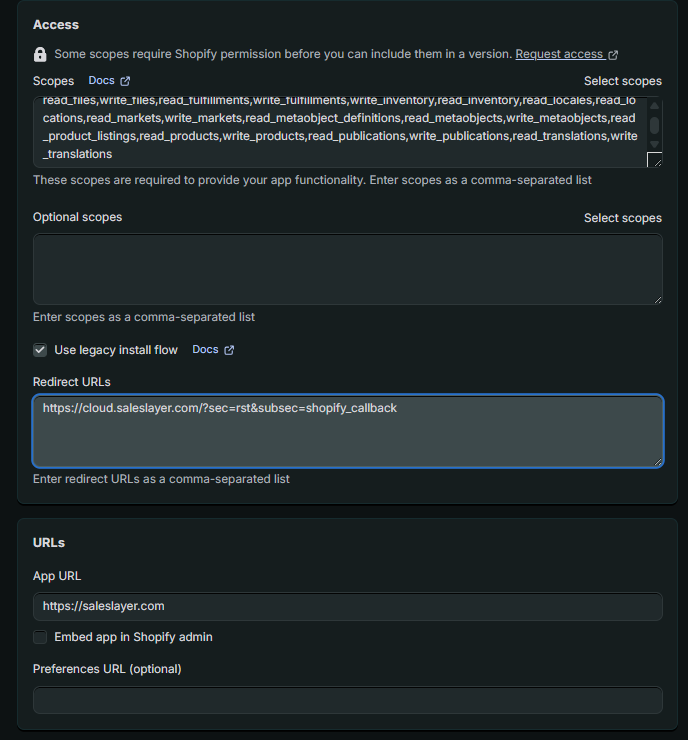
In the App URL field, enter the following URL and uncheck Embed app in Shopify Admin.
https://saleslayer.com
Set the required permissions
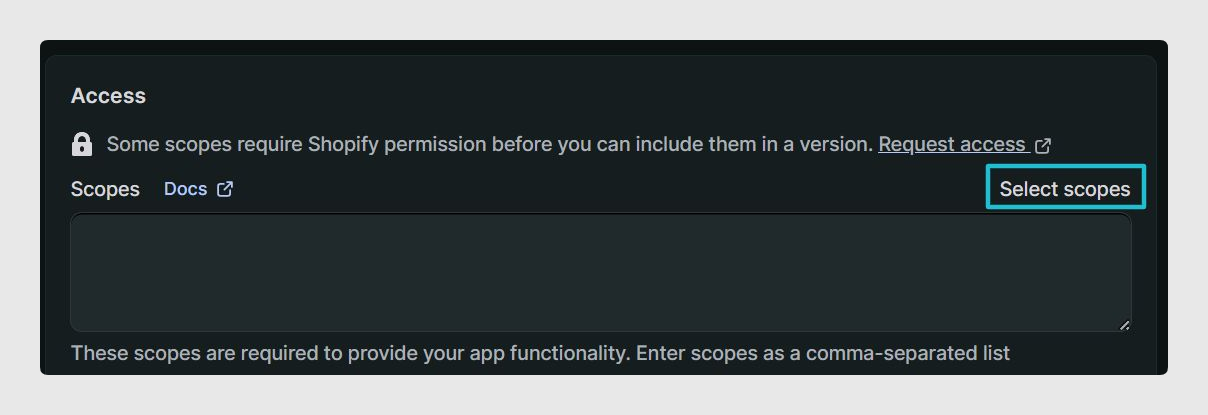
In Access > Select scopes, choose the permissions needed for the connector to synchronize with Shopify. You can add them one by one, or paste the full list directly into the Scopes field.
read_files,write_files,read_fulfillments,write_fulfillments,write_inventory,read_inventory,read_locales,read_locations,read_markets,write_markets,read_metaobject_definitions,read_metaobjects,write_metaobjects,read_product_listings,read_products,write_products,read_publications,write_publications,read_translations,write_translations
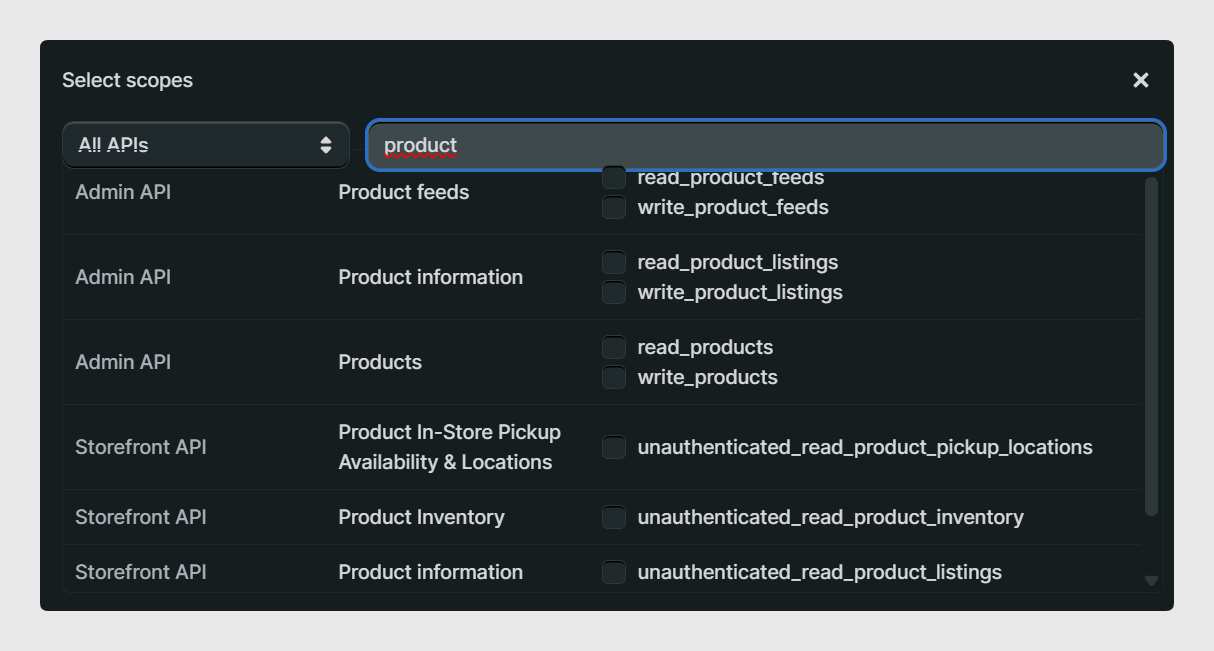
Required permissions for any synchronization, including metafields:
- read_inventory
- read_locales
- read_locations
- read_products
- read_product_listings
- read_publications
- read_translations
- read_files
- write_products
- write_publications
- write_translations
- write_files
- write_metaobjects
- read_metaobjects
- read_metaobject_definitions
Permissions for Markets:
- read_markets
- write_markets
Permissions for media files:
- read_files
- write_files
Permissions for inventory management:
- write_inventory
- read_fulfillments
- write_fulfillments
These inventory permissions are used for the following fields:
- cost_per_item
- country_code_of_origin
- requires_shipping
- tracked
- inventory_quantity
- weight_unit
- weight
- province_code_of_origin
- harmonized_system_code
Finish the Shopify setup
In the Redirect URLs field, enter the following URL and enable Use legacy install flow.
https://cloud.saleslayer.com/?sec=rst&subsec=shopify_callback
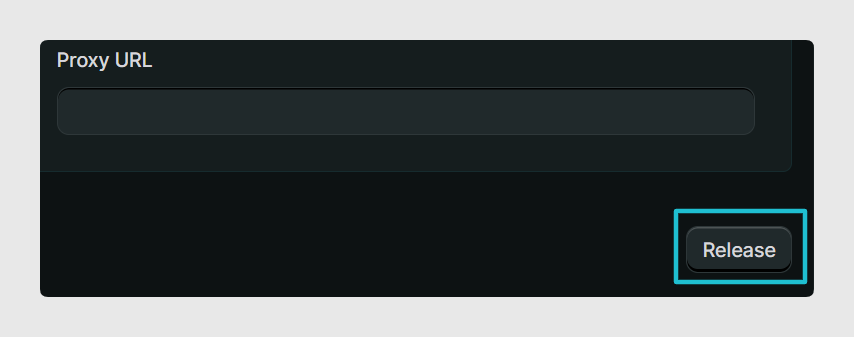
When everything is ready, click Release to launch the app.
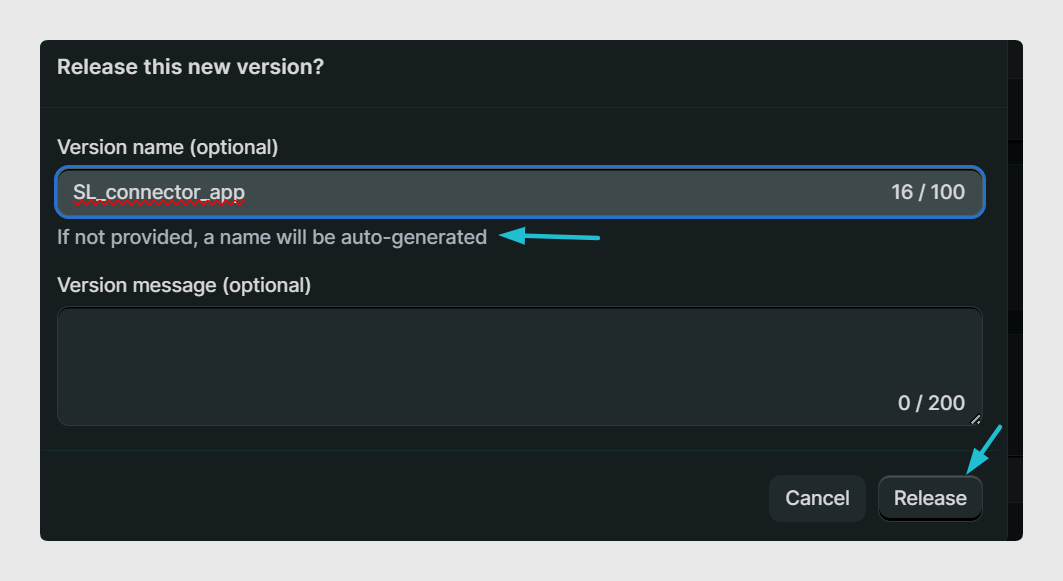
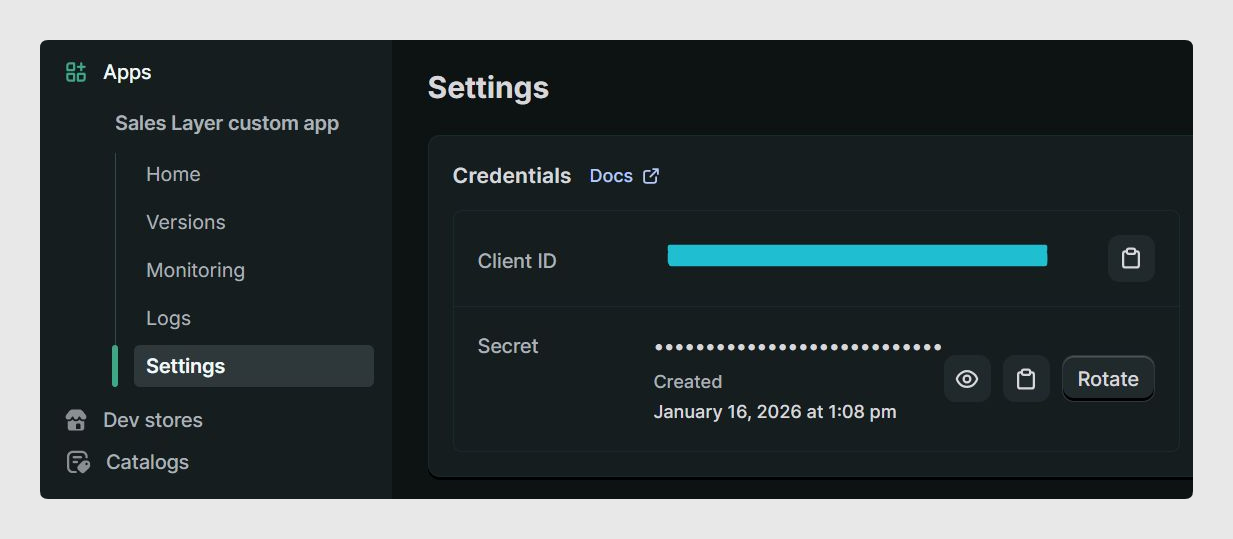
After installing the application, open the Settings tab in Shopify to access the generated keys.
Add the credentials in Sales Layer
Once the Shopify app is created, go to the connector in Sales Layer and enter the credentials under Parameters to establish the connection.
- Set Authentication method to OAuth 2.0.
- Enter the Shopify Client ID in the connector field API key/Client ID.
- Fill in the connector field API token with any value, if required.
- Enter the Shopify Secret in the connector field Client secret (OAuth).
- In Store Name, enter the full URL of the Shopify store.
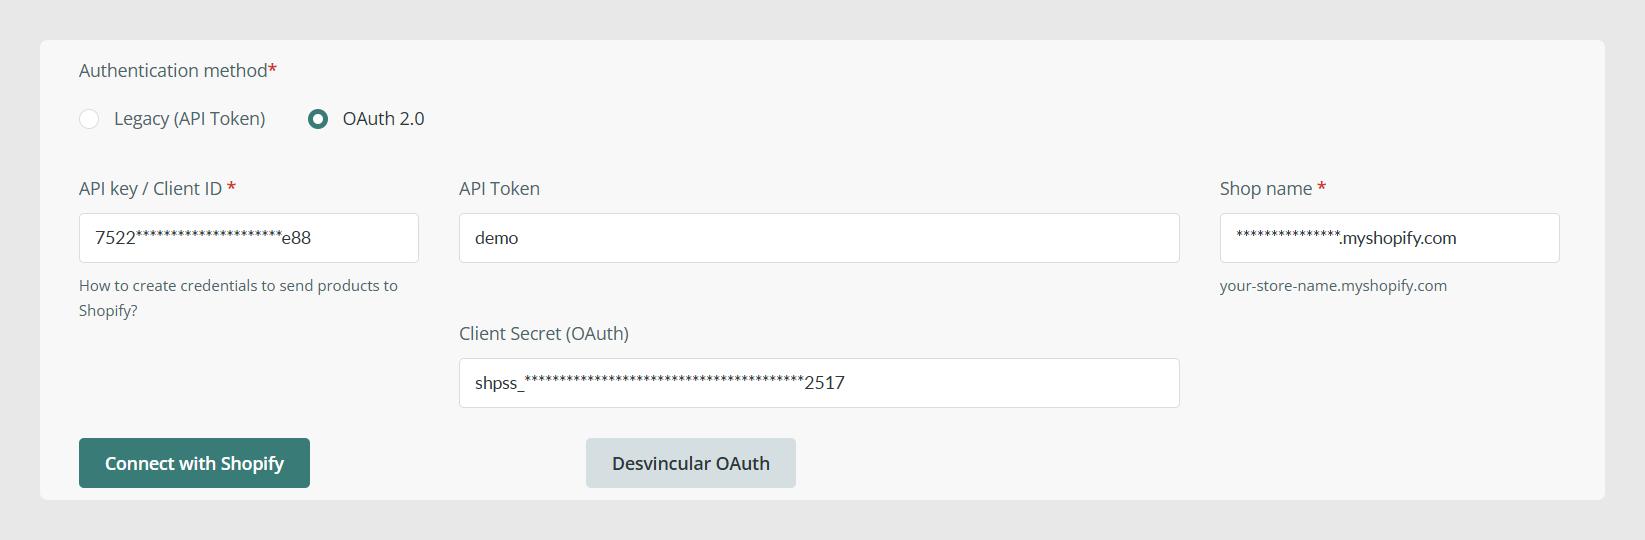
When you click Connect with Shopify, an access_token is generated. This token is valid for 1 hour and is refreshed automatically during connector synchronizations, so the value shown in the connector may change over time.
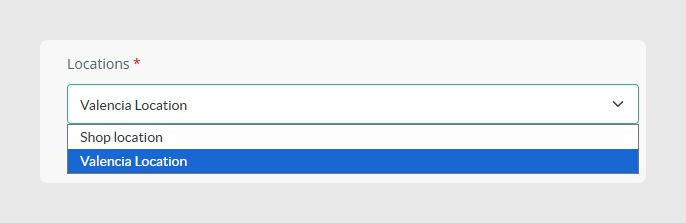
After the token is generated, the Locations selector for the connected store appears below in the connector.
Important: A credential rotation notice appears every 3 months in Connector Settings. To complete the process, click Connect with Shopify and save the connector. It is important to perform this action with a user that has access to the Shopify admin and its session open.
Was this article helpful?
That’s Great!
Thank you for your feedback
Sorry! We couldn't be helpful
Thank you for your feedback
Feedback sent
We appreciate your effort and will try to fix the article