Custom entities are separate tables in Sales Layer that let you store structured information outside the main product, variant, and category tables.
They are useful when you need a dedicated table for records such as manuals, certificates, spare parts, suppliers, campaigns, or any other business-specific information that should be managed separately from the main item form.
Because this article is focused on creation, the steps below explain how to create the table itself and how to start adding records to it. The linking and export side is better covered in the article about updating and using custom entities.
Before you create the table
Before creating a custom entity, decide what each record will represent and which fields each record needs. For example, if the table will store manuals, you may need a reference, name, file field, language field, and version field. If it will store certificates, you may need a reference, name, certificate type, expiration date, and attached file.
This makes the structure easier to maintain once you start adding or importing records. The reference is especially important because Sales Layer uses it to identify records during imports and updates.
Create the custom entity table
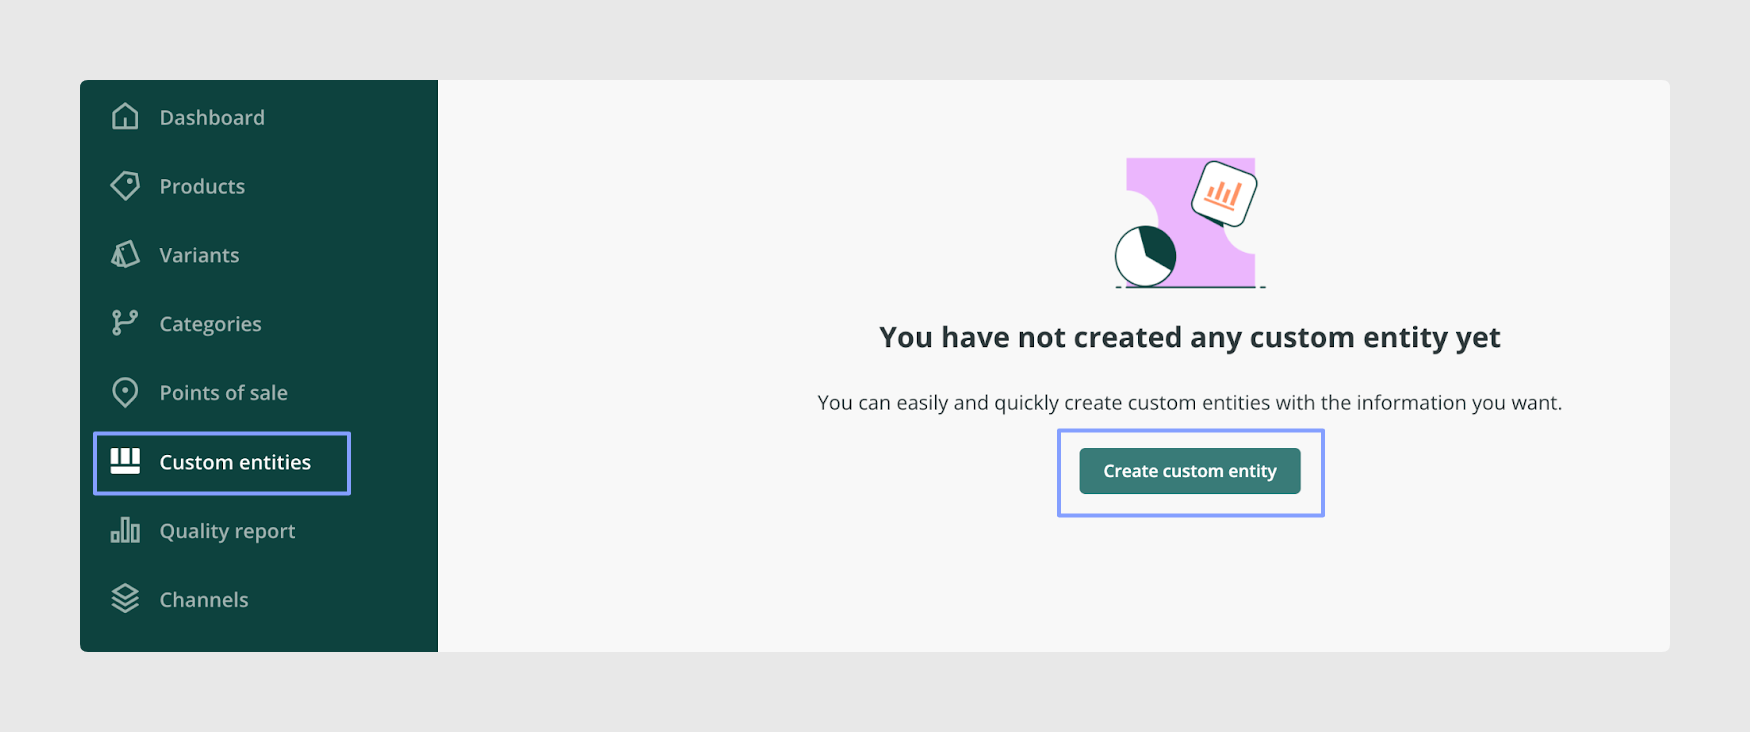
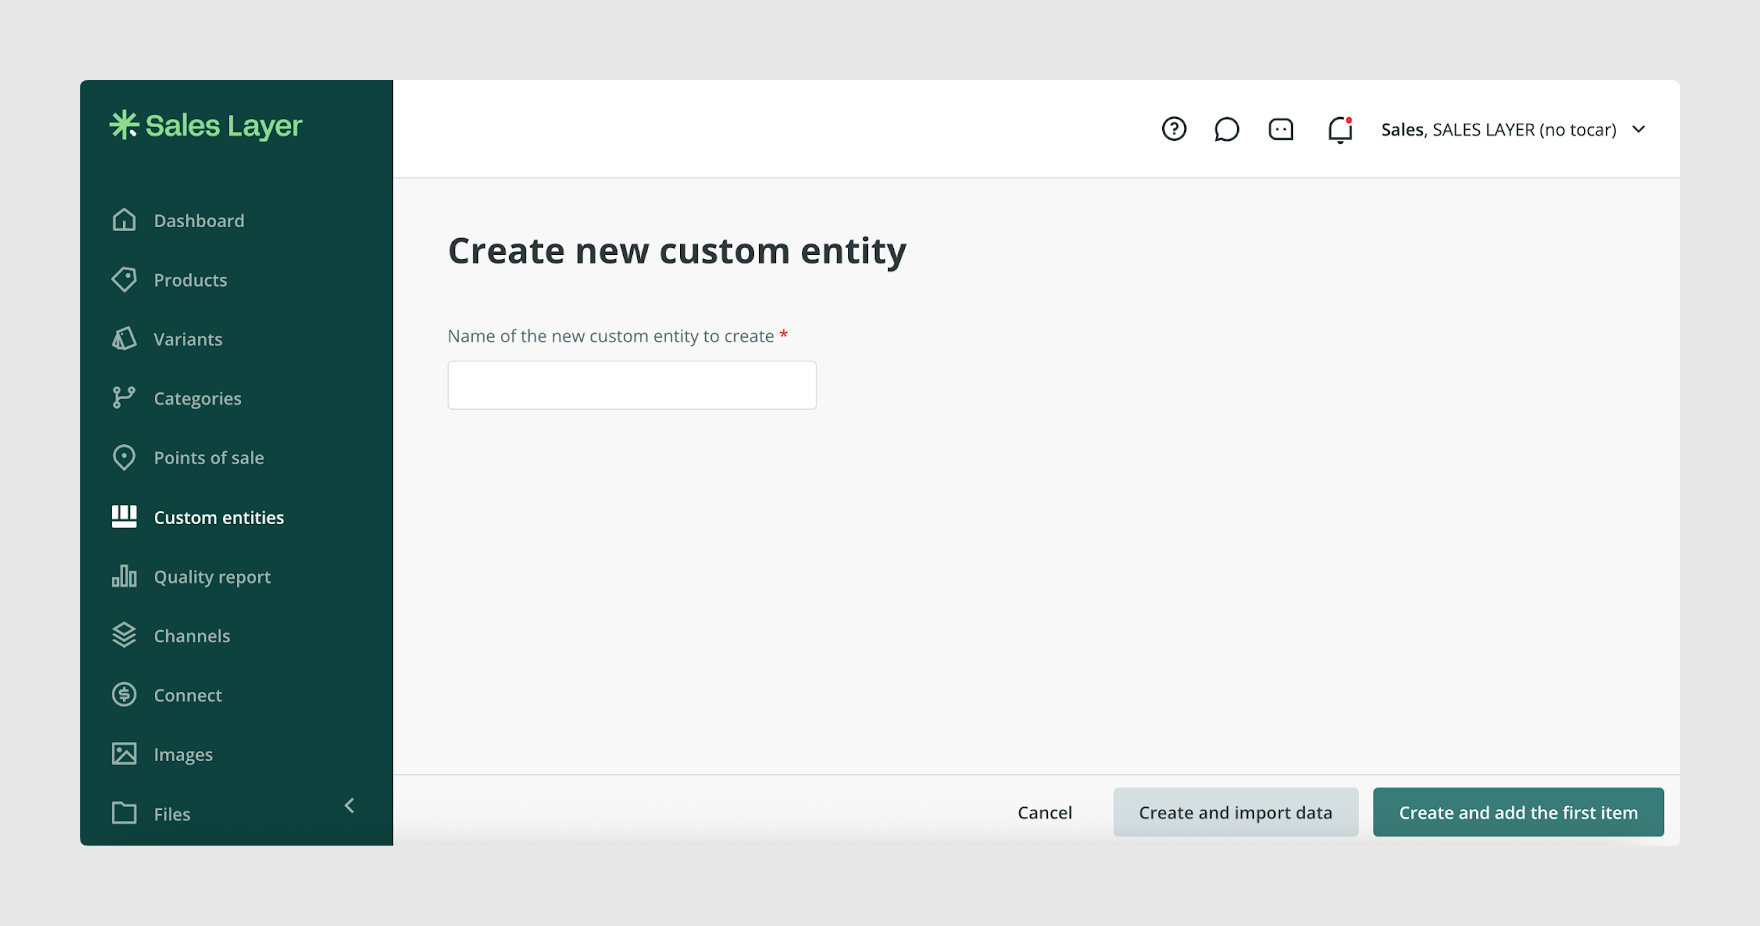
Go to Custom Entities and click Create Custom Entity. Then enter the name you want to use for that table. After that, click Save and Create First Item.
Create the first item
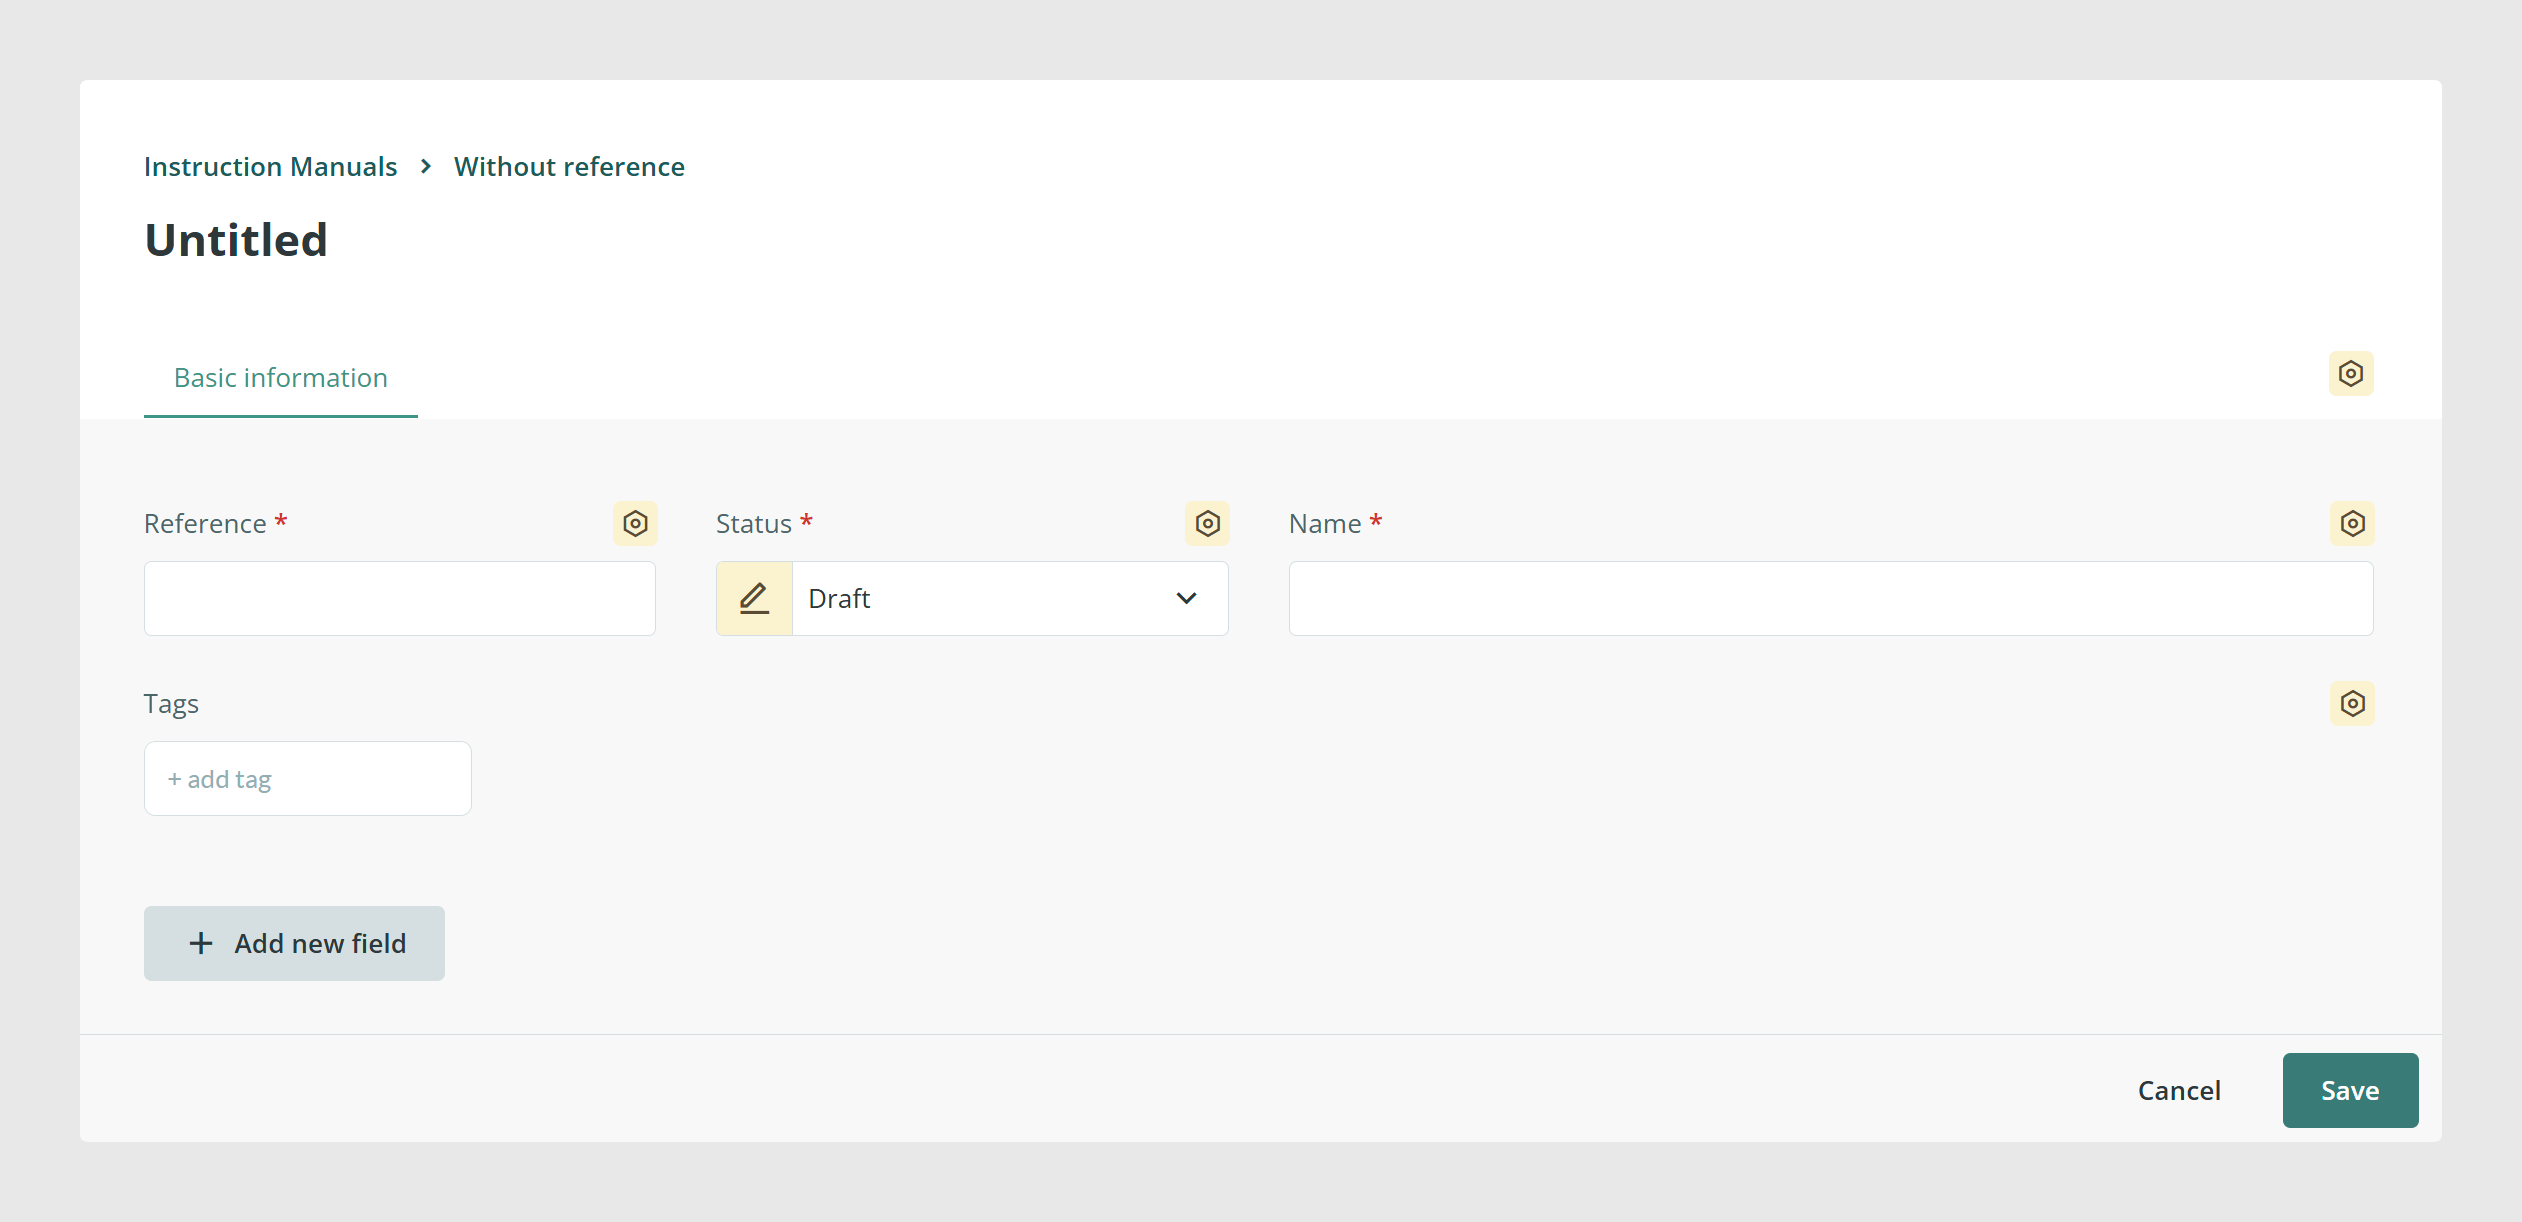
After creating the table, enter the first item’s reference and name. Once that first record exists, you can begin building the rest of the structure by adding the fields you need, just like you would in a product form or another table in Sales Layer.
Add the fields you need
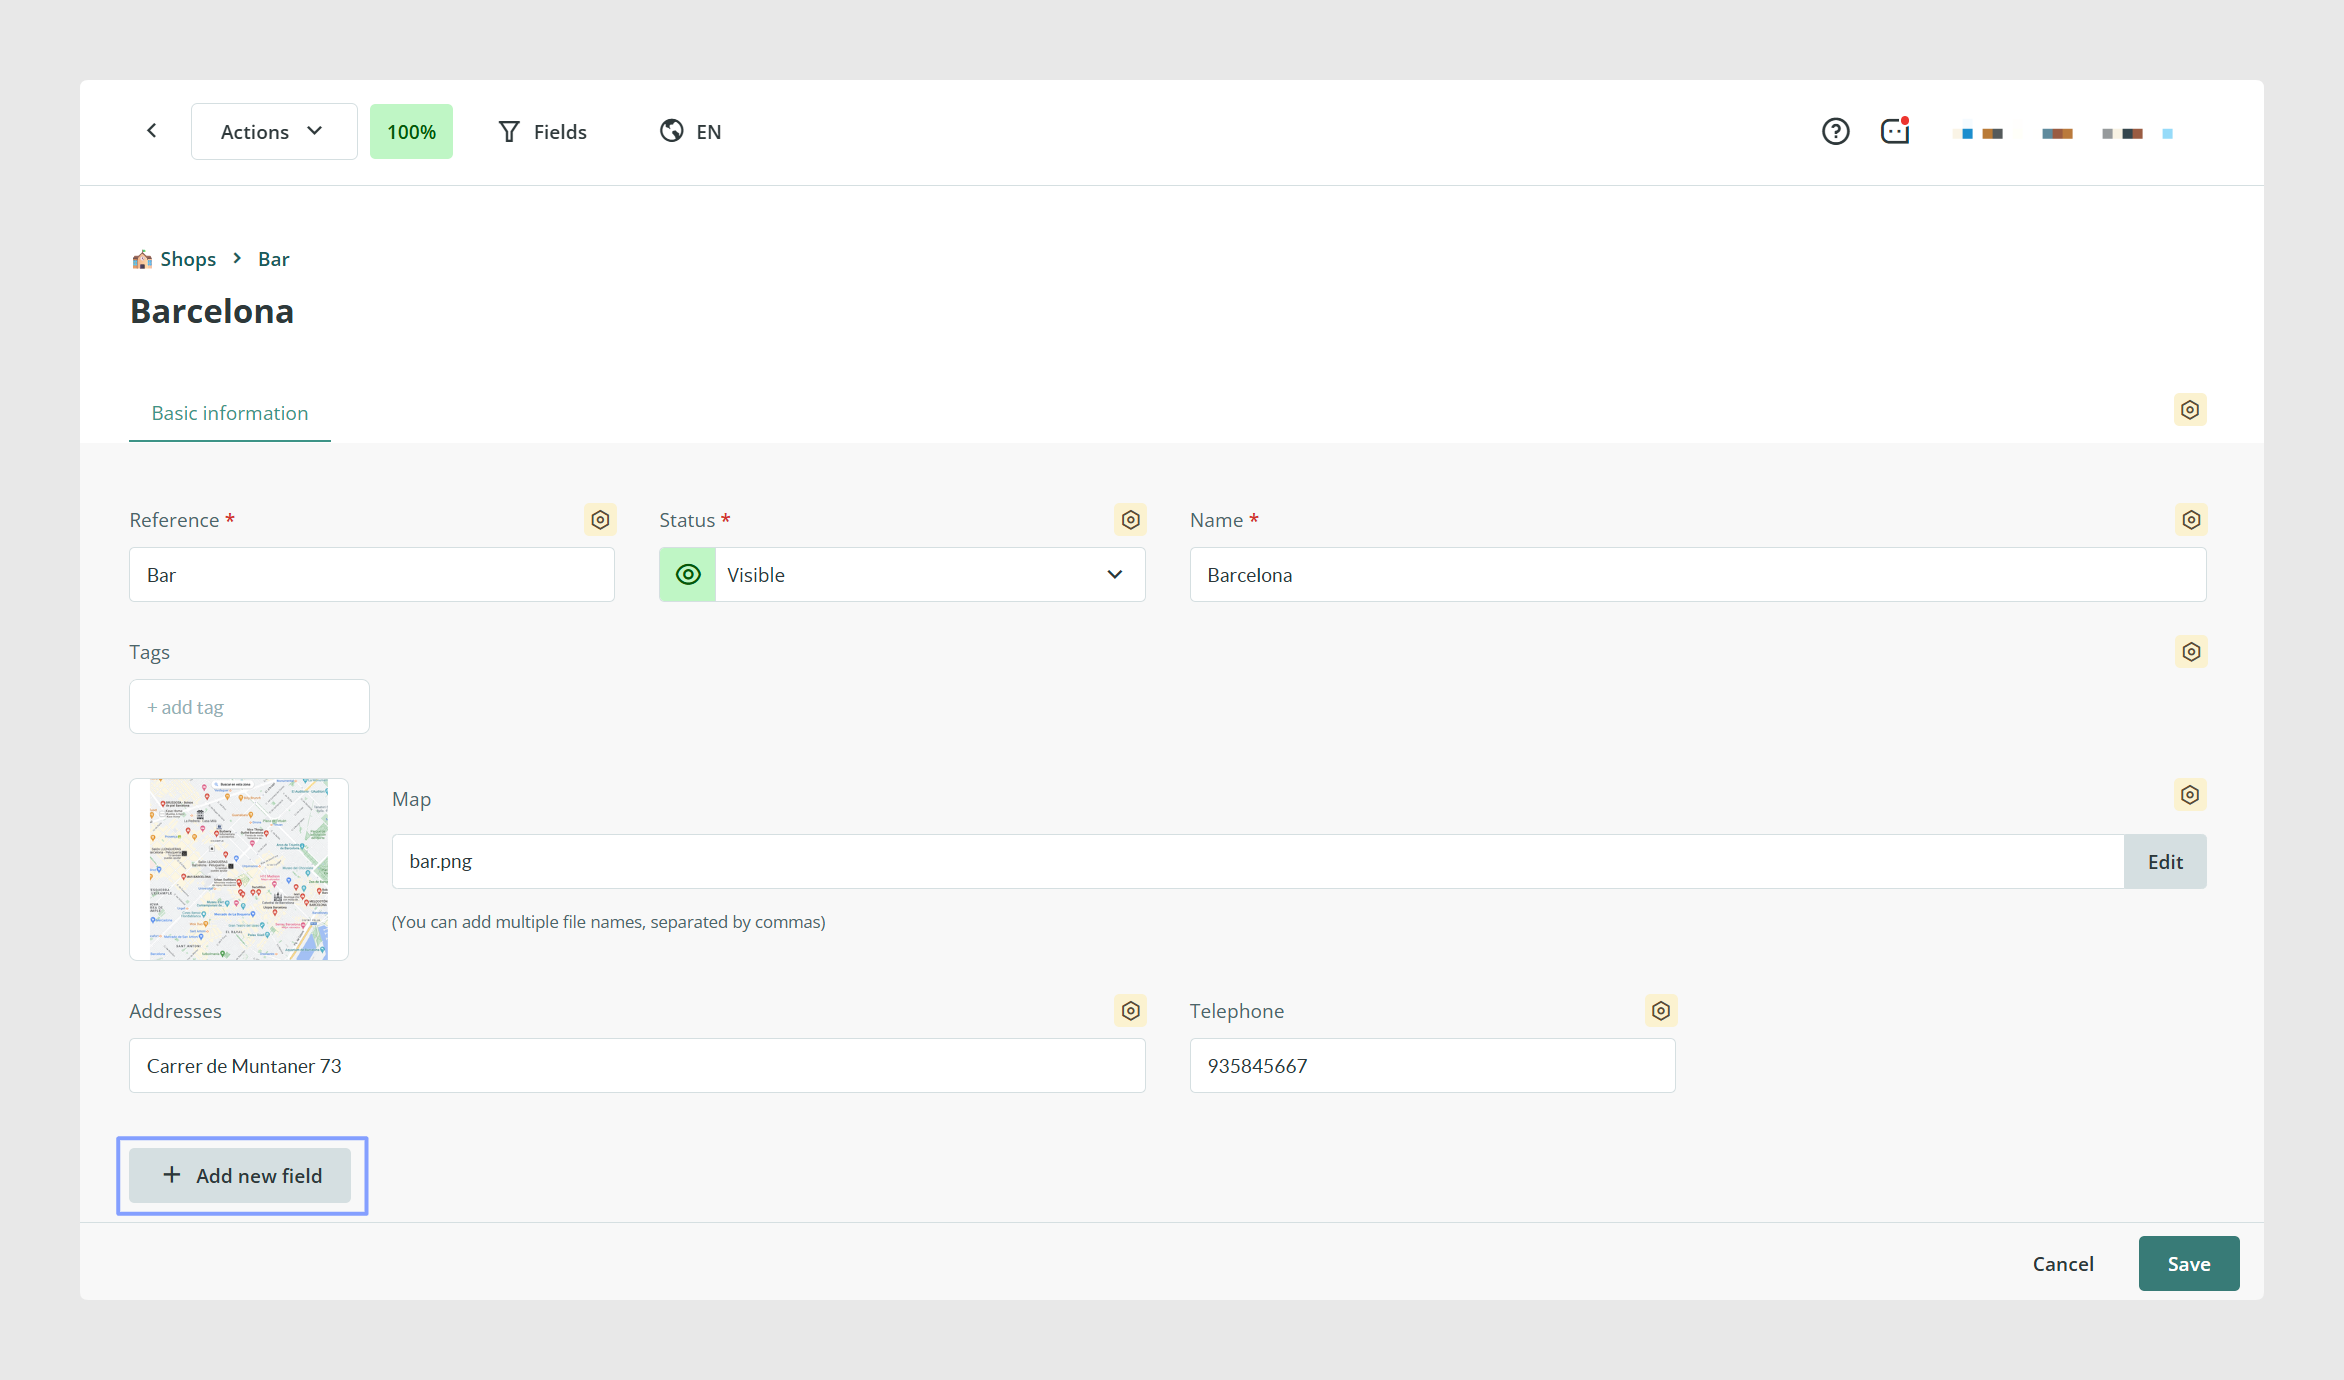
After the first item is created, add the fields your table needs. The right structure depends on the kind of data you plan to manage. Some tables may only need short text and file fields, while others may need images, web links, dates, numbers, or list fields. If you plan to work in more than one language, prepare the structure so multilingual content can be added consistently.
Try to keep the structure practical. Only add fields that are really useful for the records you want to manage. This makes the table easier to maintain later, especially if many users will work with it.
Add more items by import
If you already have the information prepared in Excel, CSV, or XML, you can add records by import, just as you would in other PIM sections. The import action works the same way for custom entities as it does for the other main tables. Sales Layer lets you paste or upload the file, review the mapping, create fields if needed, change field titles or field types, and discard columns you do not want to import. The reference field is required for these imports.
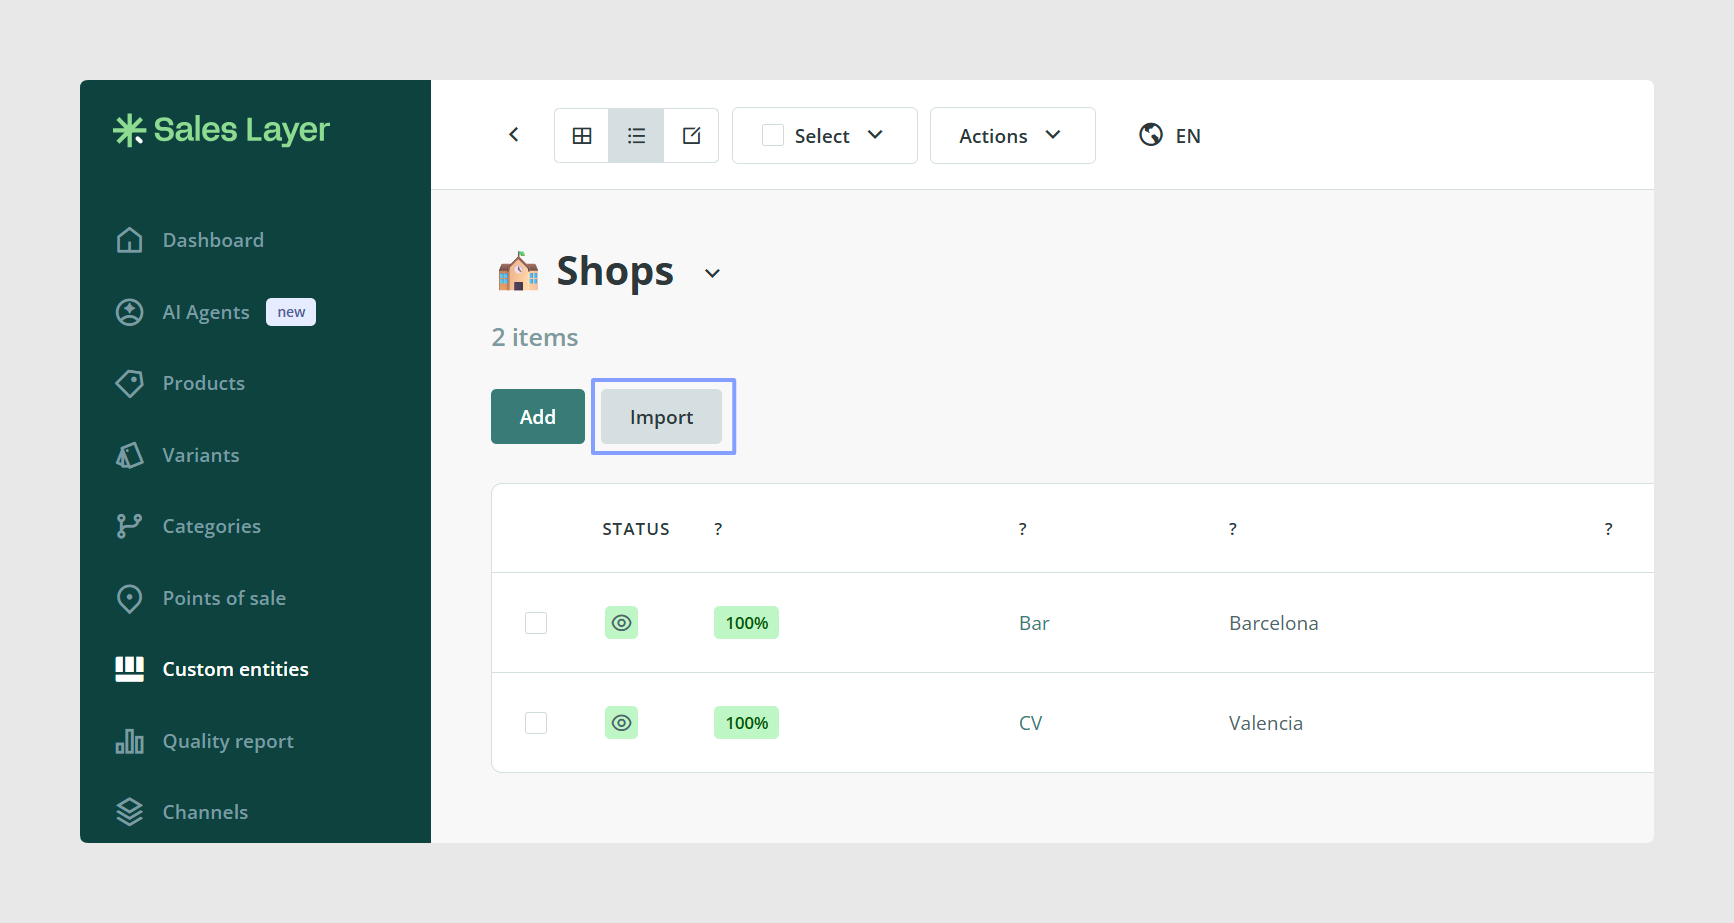
When preparing the file, separate each field into its own column. If you use multilingual fields, prepare separate columns using the ISO language code. After the file is loaded, review the detected mapping carefully before confirming the import. This is especially important on the first import because it helps define the table structure correctly from the start.
Common Use Cases
- Create a separate table for manuals, certificates, campaigns, spare parts, or suppliers.
- Store reusable information outside the main product or variant form.
- Build a structured table first, then load many records in bulk by import.
- Create multiple custom entity tables for different business needs from the main Custom Entities section.
Best practices
Before creating a custom entity, make sure the information really needs its own table and will be easier to manage outside the main item forms. Start with a clear table purpose, create a practical field structure, and use consistent reference values from the beginning. If you expect to add many records, it is usually better to define the structure first and then import the data in bulk. Also remember that the number of custom entity tables available in your account depends on your contract. If you need more, contact Customer Success.
Was this article helpful?
That’s Great!
Thank you for your feedback
Sorry! We couldn't be helpful
Thank you for your feedback
Feedback sent
We appreciate your effort and will try to fix the article